1.2.2 The eyes are a window into your monster’s soul.
Now that we’ve briefly explored the many features of the micro:bit and Makey:bit/bit:explorer, let’s focus on one feature and task: giving it a face using the lights.
Step 1: Decide how you want to use the different lights.
Step 2: Program it, test it out, program your lights and confirm that you made the right decision.
Too easy? Here are some ideas to take this challenge further:
Now that you’ve made one face, can you give it other faces? Happy, Sad, Angry?
Can you make the face move? Can it look like it is talking? Can it look like it is winking? How can you give the Monster even more personality by moving the lights?
Play with the sound and the face, how does that add to the personality?
Step 1: Decide how to use the lights
What should the face look like? This decision completely up to you. There is no right or wrong answer… it is up to your imagination.
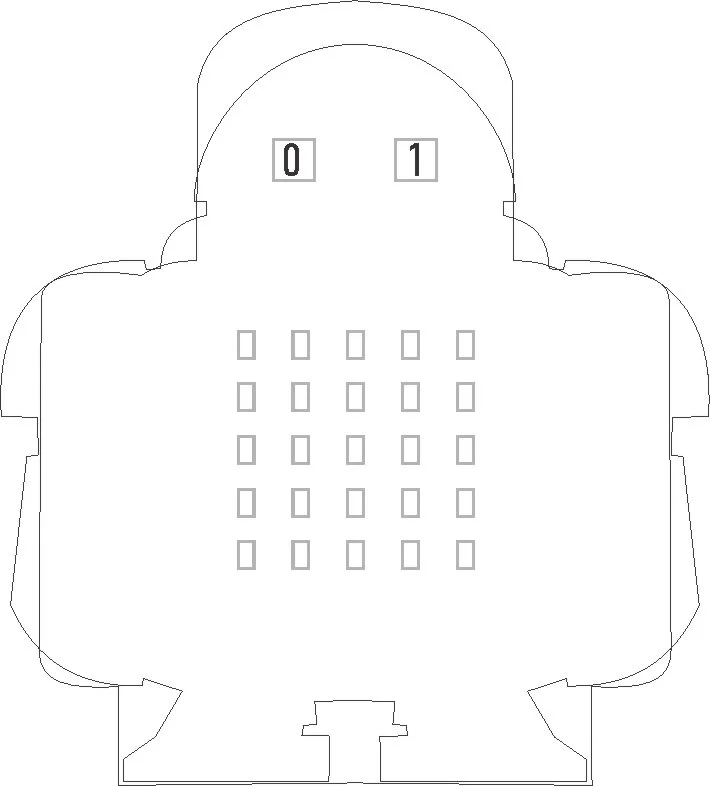
The eyes are programmable, addressable RGB LEDs that are controlled using the NeoPixels extension. One pin (Pin 16) controls multiple LEDs and each one is addressed by its location on the string of LEDs. NeoPixels start at 0 and can be any color on the rainbow.
The micro:bit also has built-in 5X5 LEDs which can be programmed using the Basic blocks.
You can use the outline to the right to sketch out your plan or simply start coding!

